

 I've been thoroughly enjoying learning the ins and outs of Adobe Illustrator these last few months, and the other day it dawned on me how to make a perfect repeating pattern! Of course I'm sure this has dawned on MANY designers already, but for those of you who may be beginners, I decided to write it up as a tutorial. This tutorial uses Adobe Illustrator, but I believe the principals are the same in Photoshop.
1. Choose the size of the repeat
 Set up your document for the size you want the pattern. For this example the repeat is six inches, square, so that's how large the new document is. Turn on the grids and the rulers to help you line things up.
2. Create the pattern elements
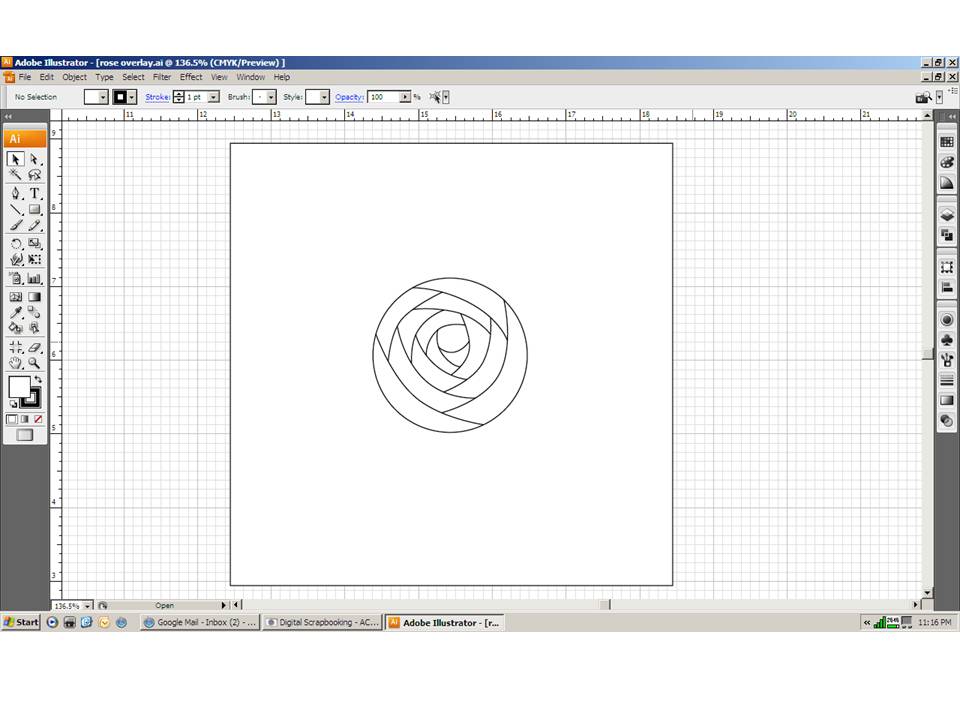 Here I've created a simple "rose" from a circle and curves.
3. Size and Duplicate
 Rotate and size the element before you duplicate it. That's important! Duplicate the element. You can go ahead and make a third copy now and move it over to the side if you will be using this same element again.
4. Line up on the Axis

Line up the first element on the bottom left axis (x: 0; y: 0)
5. Line up the second element
 For this example we are doing the repeat on the left and right edges. So the second element goes on the right axis (x: 6; y: 0). If you are making the elements to go on the top and bottom edges then you would use the top left axis (x: 0; y: 6).
6. Group the Elements

7. Place them on the edge
 Once they are grouped they are free to move around the edge. They will move together and wherever you let them rest they will make a perfect join when you save the pattern later.
8. Fill in the gaps!
 Continue working the edges of the pattern and filling in the spaces in between. Be sure that if you place something on the edge it has the perfect match on the other side!
 9. Save and create pattern

I save the pattern as a .png file to create an overlay later. If you use save for web mode make sure you change the image size! The default is pretty small. For this 6 inch pattern I save it at 1200 x 1200 pixels. Then I opened the pattern in Photoshop Elements, defined pattern (Edit, define pattern) then created a 12" paper and filled a layer with the pattern. Add texture, color, styles, etc. to create the design.
So much fun! This really makes a difference for me being comfortable making repeating patterns! I hope it helps you! If you found the tutorial useful please leave a comment, and better yet leave a link to something you made using the technique! Happy scrapping!


Just a quick note to let you know that a link to this post will be placed on CraftCrave today [17 Apr 02:00pm GMT]. Thanks, Maria
ReplyDeleteThat is so cool. It really helped me in design tech.
ReplyDeleteThanks xxx
This is such an insightful guide on creating perfect repeating patterns.
ReplyDelete